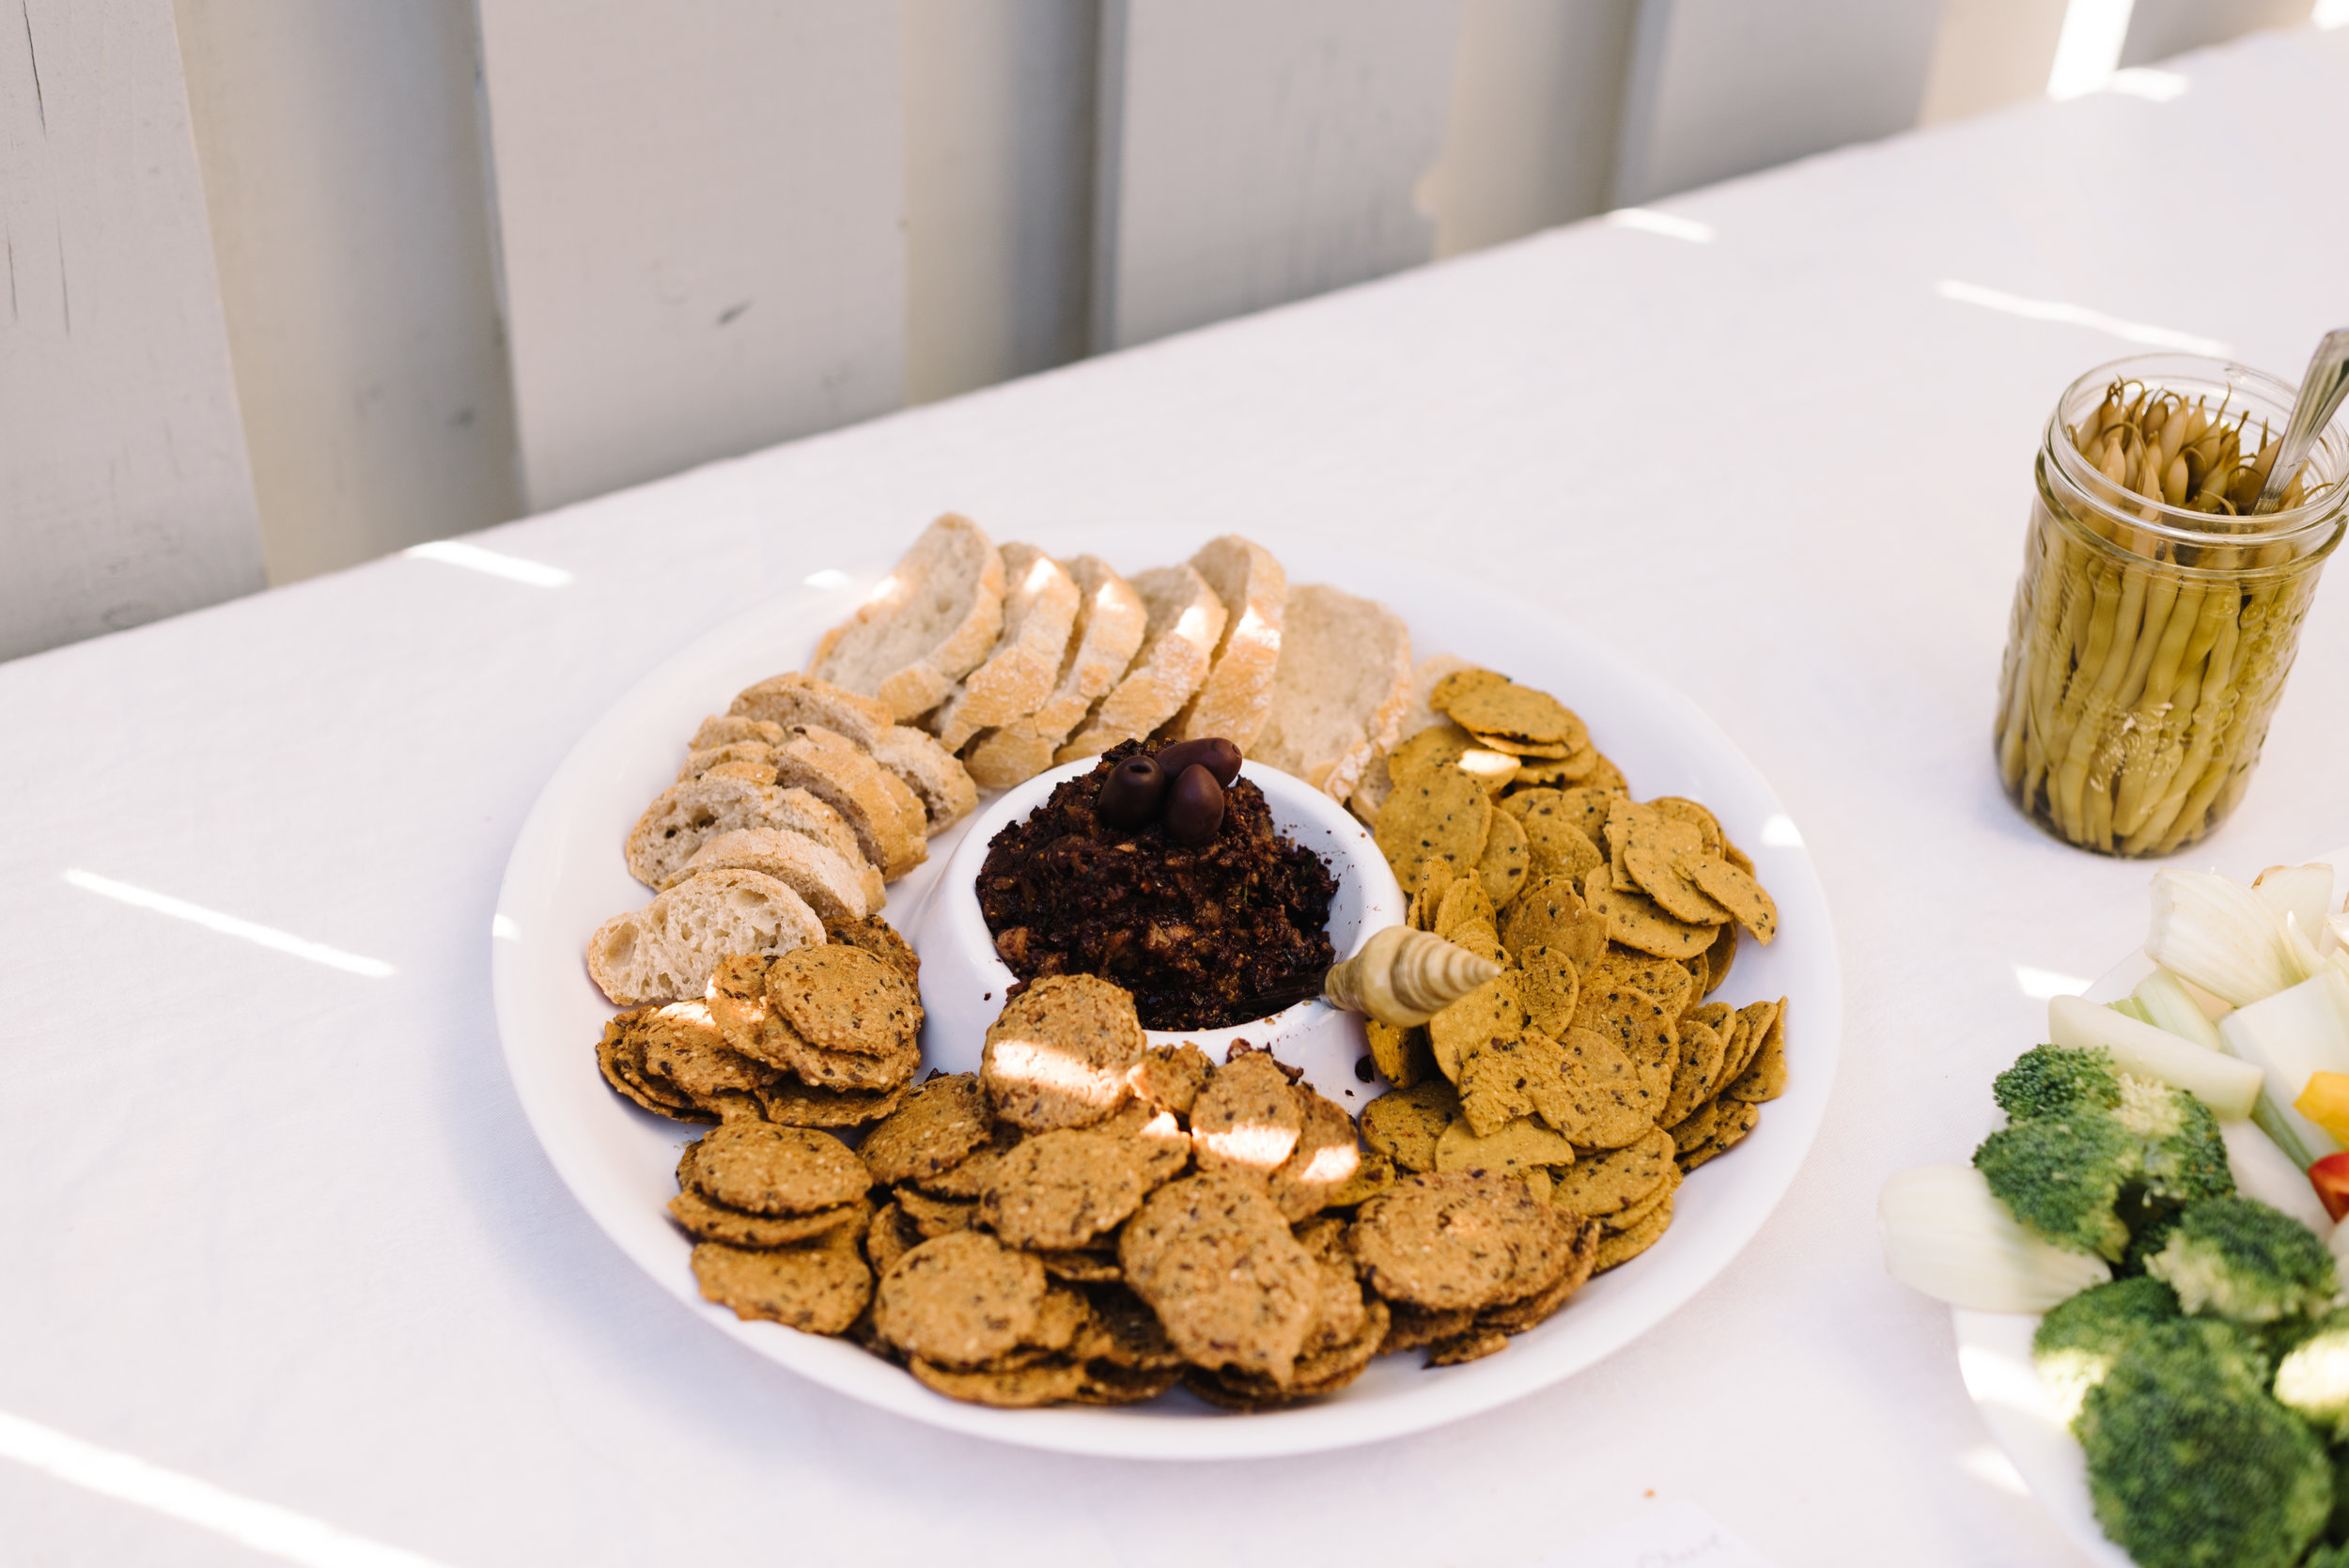
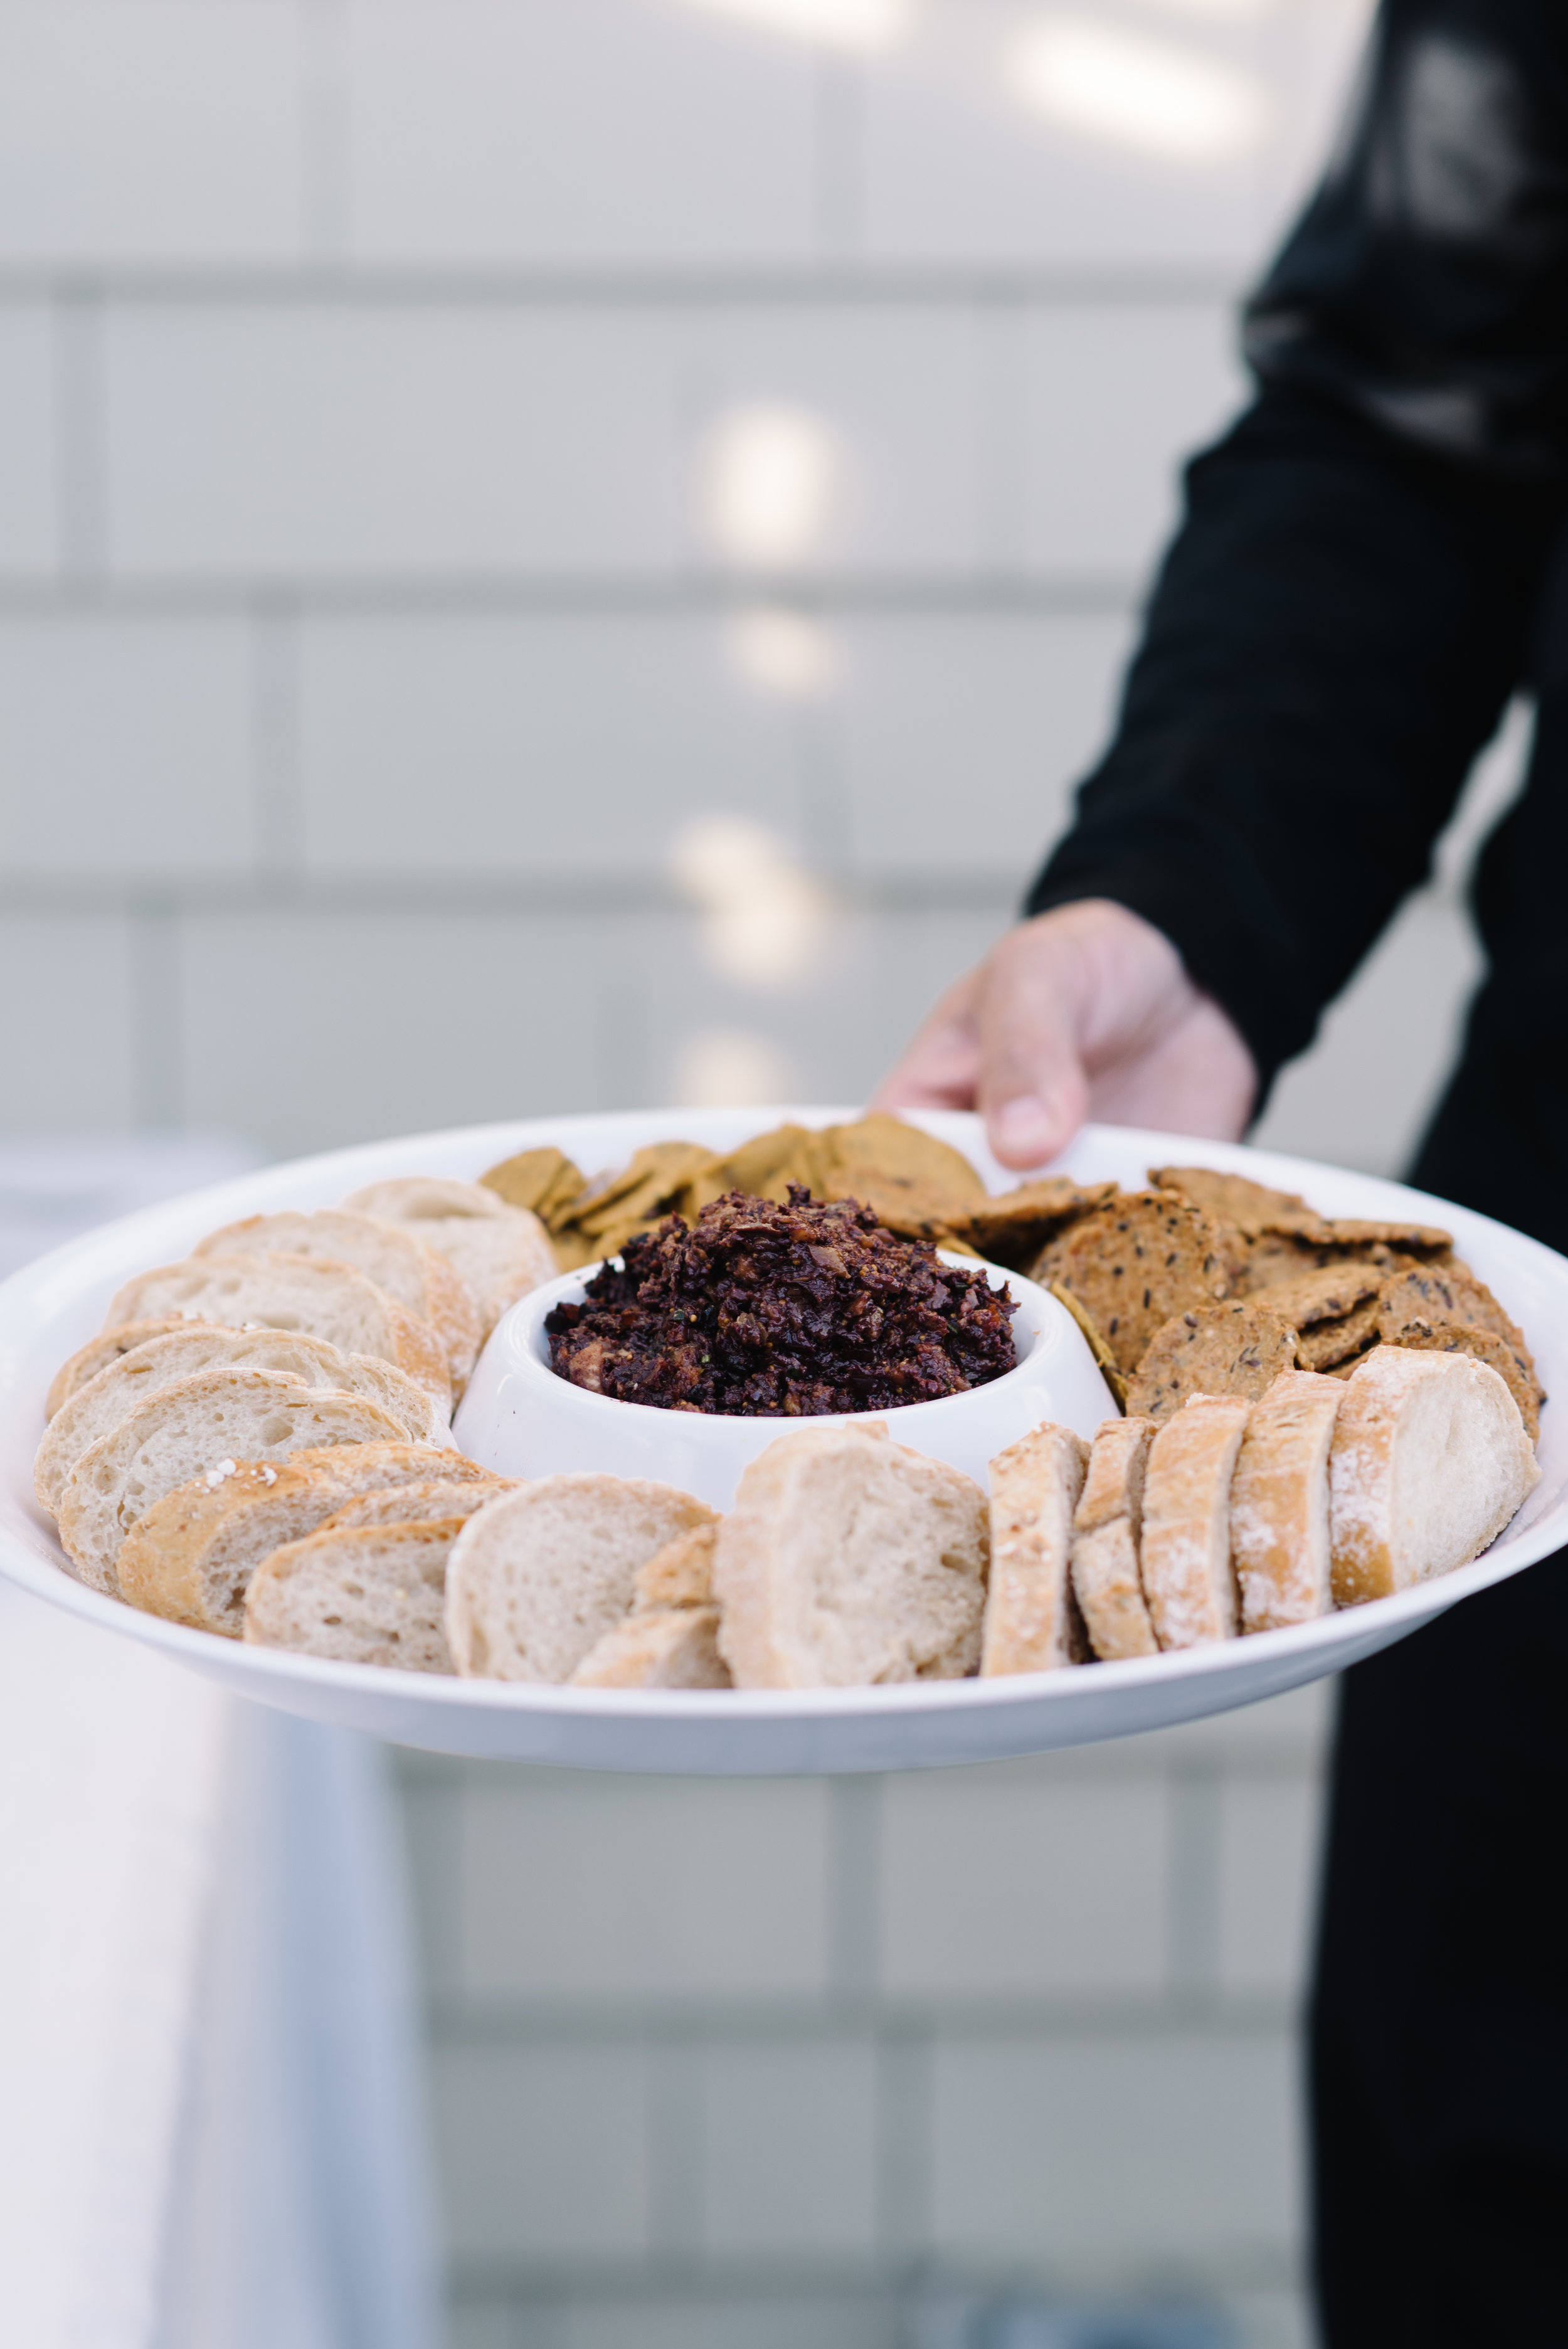
Dulse, Sunflower Seed, & Wanut Pâté

Yesterday I was invited to be part of CBC Radio show "D is for Dinner" here in Ottawa. I was asked to talk about seaweed, the health benefits, and bring along recipe.   During the show, the host Alan Neal tried dulse (seaweed) on its own and he also tried a Dulse, Sunflower Seed & Walnut Pâté that I made — and he loved both! CLICK HERE to listen to the full recording of the show, or scroll down for the Pâté recipe.  CBC also shared article following the interview. You can find it here.

By the way, if you're in Ottawa, you can buy Mermaid Fare dulse at all Kardish Health Food Centre locations, The Table Vegetarian Restaurant, and NU Grocery. If you're outside of Ottawa, please visit the Mermaid Fare website to order online or find a retail location near you! 

29216824_1662553520499176_2100375338595909632_o.jpg

DULSE, SUNFLOWER SEED, WALNUT PÂTÉ

Ingredients: 

1 cup walnuts
1.5 cups cup raw sunflower seeds
1 teaspoon red wine vinegar
1/3 cup red onion, minced
1/3 cup whole leaf dulse
1/3 cup celery, minced
1/2 cup fresh parsley, chopped
1/3 cup lemon juice
3 tablespoon freshly chopped dill or 2 tbsp dried dill
Salt and pepper to taste
Water, if needed, during processing

Directions: 

Start off by soaking the walnuts and sunflower seeds together in warm water for at least 30 minutes.

Dice the red onion very small, about ¼ inch dice, and add to small bowl. Then pour over the red wine vinegar. Set aside.

To prepare the dulse, quickly warm it in a cast iron pan for about 1 minute – do not let it burn! Remove from the heat, let it cool, and crush it into flakes. 

Dice the celery the same size as the onion, and roughly chop parsley, dill, and mix together with the onions, lemon juice,  and dulse flakes in a medium sized bowl. 

Drain and rinse the walnuts and sunflower seeds. Using a food processor or high powered blender, blend the walnuts and sunflower seeds together until the oil starts to show on the bowl and it becomes similar to nut butter consistency; about 2-3 minutes. If the mixture is too dry, add a bit of water, and mix again. 

Combine the walnut and sunflower seed mixture with the rest of the ingredients and season with salt and pepper to taste.  Enjoy immediately in lettuce wraps or tortillas, with crackers, in sandwiches, or in a salad with vegetables and a dressing of your choice.

unnamed-1.jpg

Fig and Olive Tapenade

The one year anniversary of my wedding is fast approaching.  For those of you who are new to the blog, Jeremy and I got hitched on September 3, 2016. You can see some photos of the big day here.  It was a crazy, amazing, world-wind day that I'll definitely never forget. Our wedding had some traditional elements, but it was very progressive in many ways.  Leading up to the wedding I jokingly described it as a "feminist, non-secular, vegan wedding".  It was all of those things, but it was also so much more. It was literally the best party ever (I'm sure most of the attendees would agree) with the best people ever, and we can't thank friends and family members enough for their massive help and support in making our dream wedding possible. 

I'm often asked what we served for food at a vegan wedding. Given that most people have never attended a vegan event I completely emphasize with their curiosity. There were very few vegetarians, let alone vegans, at the wedding and it was a huge privilege to introduce everybody to this style of cuisine. Jeremy and I are fairly healthy eaters. If I were to give it a label, I'd say we eat mostly plant-based whole foods. Basically, we eat LOTS of vegetables and we go to great efforts to eat seasonally and locally. It was very important to me that our wedding menu was reflective of that. Of course, since we were feeding a lot of non-vegans, I also wanted to make sure it tasted really, really good! 

In the last many months, I've been dreaming of publishing an eBook featuring all the recipes from the wedding. If you follow me you'd know that I've had a really busy year full of travel, events, and a lot of business growth, and because of all that I've been pushing this off for ages. I honestly don't have a lot of time to work on an eBook, but I'm committing to it.  I hope to have it out within the next few months and I'm working with a few others to make it happen. I don't have a set-in-stone release date just yet, but I'm putting it out there so that I can't renege on my promise. 

As a token of my gratitude to those of you who've been following and rooting for me, the eBook will be FREE to newsletter subscribers. (If you haven't yet subscribed to my newsletter, you can do so HERE.) As I continue to work on the eBook, I'll be releasing a few of the recipes on my blog prior to the launch date.  Most of the recipes were developed by our wedding chef, Nancy Leclerc, or me, and some are inspired by other recipes we found online or in cookbooks (of course the latter will be credited). 

In this blog post, I'm sharing one of my absolute favourite appetizers. This fig and olive tapenade is truly a go-to for parties and pairs perfectly with cashew cheeses. Everybody (except the odd olive hater) loves it.   It's not the prettiest thing to photograph, but Anne Bouchard, our wedding photographer, managed to get a few nice snaps as you can see below. For the full recipe, please scroll down. 

FIG AND OLIVE TAPENADE

Yields about 1 1/4 cups

Ingredients:

1/2 cup dried figs (I've used either Mission Figs or Turkish Figs)
1/2 cup pitted Kalamata olives
1/2 cup pimiento-stuffed green olives
1 teaspoon fresh rosemary, minced
1 tablespoon balsamic vinegar

Directions:

Roughly chop the figs and olives. Add to food processor and pulse a few times.

Add rosemary and balsamic vinegar. Then pulse several more times, frequently scraping down the sides with a spatula, until you have a nice chunky consistency. 

Serve with crackers or a sliced sourdough baguette.  Enjoy immediately, or store in an airtight container in the refrigerator for up to 2 weeks. 

Note: if you don’t have a food processor you can chop everything by hand. 

Modified from the original recipe by Kayb featured on Food52

Amy Approved 4-Layer Dip

When it comes to watching sports and rooting for teams, I'm usually a band wagon jumper.  I will forgo an entire season of [insert sport] only to watch the very last game. This is not to say that I'm not sporty or that I don't like sports (because I am and I do), but I'd much rather play a sport, then be a spectator. As for being a bandwagon jumper, I should probably clarify a bit. When it comes to watching the playoffs or Super Bowls or final whatevers, I generally don't pay much attention to the game, instead, I've always been much more interested in the food, the beer, and socializing with friends.  

Over the past decade my diet has changed a lot, and I have finally surrendered to food allergies. When I find myself at a party, I tend to pick over the spread for foods I can actually eat (which in certain cases can be limited to none).  There is really nothing that breaks my heart more than being left out when it comes to food. To avoid disappointment, I always try to show up with foods that I can enjoy, but I go the extra mile to show my fellow party goers that game-time grub needn't contain chemicals, artificial flavours, ridiculous amounts of sodium, mystery meats,  and all that other horrible stuff that tastes good, but feels really bad after the fact. I love to show people that spectator snacks can be really, really delicious without any of the adverse side effects. 

This past weekend, I brought my 4-layer dip and a bag of organic corn chips to a friend's party. After trying a few bites and loving it, one of the guys said it tasted like a "burrito on a chip".  Little did he know that this "burrito on a chip" was loaded with healthy proteins and fats, fiber and chock full of nutrients. A healthy, delicious layered dip that tastes like a bite-sized burrito? Yep. Dreams do come true!

The full recipe for the dip is below. You'll want to allot about an hour or so to make and assemble since there's a bit of chopping, mixing and blending involved. I promise you, it'll be worth it.

"BURRITO ON A CHIP" 4-LAYER DIP

Vegan - Gluten Free

Refried Beans

Ingredients:

1 Tablespoon, olive oil
1/2 red onion, diced
3 cloves, garlic, minced
2 hot peppers (jalapeño or serrano), seeded & minced
1 teaspoon, ground cumin
1/2 teaspoon, dried oregano
1/2 teaspoon, chili powder
3 cups, cooked/canned beans of your choice (I like pinto beans) 
1 bay leaf
1 cup, water
1 teaspoon, sea salt
Freshly ground black pepper to taste

Directions: 

On your stove top, warm the oil in a saucepan or skillet on medium heat.  Add the onion and a big pinch of sea salt. Give it a stir and allow the onions to cook for a minute or two.  Add garlic and hot pepper. Cook for about 7 to 10 minutes to sweat the onions.  Sprinkle in the spices and cook for another 30 seconds. 

Stir in the beans, bay leaf and water and bring the mixture up to a boil.  Reduce heat and simmer for 15 to 20 minutes, or until at least half of the water has been absorbed. 

Remove and discard the bay leaf.  Using a potato masher or hand blender,  mash and the blend beans until they become a thick paste consistency.  If the mixture is very dry, add some water, a few tablespoons at a time, until desired consistency is reached.  Set aside to cool. 

Cashew Cream Sauce

Ingredients:

2 cups, raw cashews, soaked for a few hours and rinsed
1/4 to 1/2 cups, water
2 Tablespoons, lemon juice
2 Tablespoons, nutritional yeast
1 Tablespoon, onion powder
1/2 teaspoon,  sea salt

Directions: 

Starting with 1/4 water and the remaining ingredients, blend everything in a high powered blender, stopping from time to time to scrape down the sides with a spatula, until smooth.  If the consistency is too thick, slowly add more water to loosen.  

Guacamole

Ingredients:

3 - 4 ripe avocados, peeled and chopped
1 - 2 limes (1/2 lemon), juiced
1/4 bunch, cilantro, roughly chopped
A few big pinches of sea salt & freshly ground black pepper to taste

Directions:

Combine all ingredients and mix well.

Pico de Gallo (Salsa)

Ingredients:

1 pint, cherry or grape tomatoes, quartered
2-3 limes (or 1 lemon), juiced
1/2 red onion, small dice
3/4 bunch, cilantro, roughly chopped
1 jalapeño, seeded & minced
1 bunch, green onions, roughly chopped
1 -2 cloves, garlic, minced
A few pinches of sea salt & freshly ground black pepper to taste

Directions: 

Combine all ingredients and mix well.

To Assemble the Layered Dip

Once the refried beans have cooled off a bit, spread them evenly at the bottom of an 8 x 8 casserole dish.  Then spread an even layer of the cashew cream sauce on top. Next up, add the guacamole in an even layer, and last but not least, add the pico de gallo over top. If you don't have a large casserole dish, simply portion out the layers in to several smaller dishes or jars. Enjoy immediately with organic corn chips, cut up veggies, pita chips, or by the spoonful!

If you have leftovers of the individual components, you can re-purpose them into a healthy salad by adding some leafy greens, or make wraps using fresh collard leaves or whole grain tortillas.  The ingredients can be stored in the fridge for up to 1 week. 

Beautiful, colourful whole foods. Nothin' better than this.

Beautiful, colourful whole foods. Nothin' better than this.

Garlic Scape Pesto

A friend of mine, Anne, works for the Ottawa-Carleton Association for Persons with Developmental Disabilities (OCAPDD) and ever since I've known her she has always spoken so fondly of the organization. The OCAPDD works with developmentally disabled children and adults in the Ottawa-area with the goal of helping them integrate into the community by way of assisted lodging, education and access to employment. 

 The OCAPDD has many noteworthy endeavours, but the one that interested me the most was their  Silver Spring Farm Agricultural Project.  Silver Spring Farm, located in the west end of Ottawa at the intersection of Richmond and Baseline Roads, is 100% volunteer based. It has been around for over 50 years, but most recently its focus has been pesticide-free garlic farming. Every fall, volunteers plant 40,000 bulbs of garlic. In mid-July the garlic is harvested, dried, braided and, by August long weekend, it is sold to the public with 100% of the profits being used in support of adults with developmental disabilities. 

This time of year, Silver Spring Farm also harvests and sells garlic scapes. The scapes, which have become somewhat of a delicacy, are the soft, light green coloured stems or "flower stalks" of certain garlic varieties.   Because they are only around for a few weeks each year — usually late-June to early-July — they are highly sought after.  Generally, the scapes are trimmed off, since leaving them in place diverts the plant's strength away from forming a hearty bulb of garlic. 

Scapes can be sweet or pungent, but generally they have a mild garlicky taste. Like garlic, they boast numerous health benefits.  The sulphur compounds in garlic scapes boost glutathione, a powerful antioxidant, which protects the body against oxidative stress. They are also said to promote cardiovascular health and may help prevent cancer and osteoarthritis. 

This weekend I saw Anne at a friend's party and she gave me a sizeable bag of scapes. From the moment I received this generous gift, I have been dreaming up ways to use them.  I have already sautéed some scapes with broccoli. I might try grilling or pickling them. Since I have so many, they will be used as the base, alongside onion, in most of my cooking for the next week or so. I also plan on puréeing a whole bunch in my blender and then freezing the purée in ice cube trays. The frozen scapes cubes can be used later on in soups, stews, sauces, you name it!  

Today, I made a delicious summer pesto, which I subsequently mixed with quinoa pasta noodles, fresh local kale and edamame. The pesto pairs nicely with pasta, but it could also be used on bread or crackers, modified into a salad dressing, or tossed together with sautéed or roasted vegetables.  I do warn you though, scapes can be potent and if you don't tolerate raw garlic, you might want to steam your scapes for about 3 minutes (just enough to soften them up a bit) prior to making your pesto.  However, if you are a garlic lover like me,  I think this recipe will be right up your alley! 

GARLIC SCAPE PESTO

Makes about 1.5 cups ~ dairy free & gluten free 

Ingredients: 

10-12 large garlic scapes, rough chopped
1/2 cup parsley, tightly packed 
1/2 cup (approximately 20) brazil nuts
1 tablespoon miso paste (I used chickpea miso), optional 
3/4 cups extra virgin olive oil
Juice of half a lemon 
Sea salt & cracked black pepper 

Directions: 

Pulse the garlic scapes, parsley, brazil nuts, miso, lemon, 1/2 teaspoon salt, and 1/4 teaspoon pepper in a food processor until very finely chopped.  While your food processor is still running, slowly pour the oil through the opening. Taste a little bit of your pesto, and then re-season with salt and pepper, if necessary. 

The pesto keeps in the fridge, sealed, for 1 week or frozen for about a month. 

The OCAPDD is always looking for volunteers. If you are interested in getting involved with the organization, check out its volunteer page. You can also visit the farm this week for fresh scapes and rhubarb, or stop by in August following the garlic harvest. 

Everybody's Favourite Raw Zucchini Almond Dip

Before entering into the world of food and nutrition, I worked in PR and communications for years. Because of that, I have attended, or worked the booth, at many, many trade shows and conferences in my day. This past weekend was a big one for Amy Longard Nutrition. Sunday, May 31, 2015 will forevermore be known as the day I attended my very first trade show, as a vendor, representing my own business. 

Gluten Free Utopia took place at the Ukrainian Centre, and brought together more than 40 regional vendors who cater to the gluten free community. Many of the attendees were celiac, gluten sensitive or allergic to gluten, and they were so happy to finally attend an event where they could eat everything! As a nutritionist and trained chef, I knew this would be a great opportunity to meet people from the community who can't eat foods that contain gluten. Given my skill set, I'm well-versed at how to avoid it, replace it and cook without it. I also know how to help people transition, in a healthy way, to a gluten free diet. 

Thanks to Sergio Diaz for the photo. www.sergio-diaz.com

Thanks to Sergio Diaz for the photo. www.sergio-diaz.com

Since this was my very first show, I didn't have an expensive, fancy display, nor did I have much money to invest in a high-end getup. That said, I'm pretty crafty and creative when I need to be, and I knew that I could pull it together with a few nice things and offer up a really tasty snack. Before we get to the food, let me tell you about the décor. I was looking for natural, organic, and earth-friendly pieces to reflect my business and my values. I used borrowed burlap (which will eventually be used in gardening or landscaping) and a second-hand linen table cloth, which my friend lent to me, to cover my table. I had a big bunch of chives (from my boyfriend's parents' garden), that were initially intended to be consumed (and, of course, I still plan on eating them), but they began to flower the day before the GFU and they were so pretty that I decided to arrange them in an oversized vintage mason jar and put them on display. They were the perfect "floral arrangement".  I also borrowed a few tins, baskets, dishes, a linen napkin, and other odds and ends from one of my friends, which really complimented the tabletop. However, the pièce de résistance was definitely the tree trunk emblazoned with my logo, handmade by my friend Heather. Lots of people stopped by my booth just to check it out.  As you can see, it's a great conversation piece. 

Although the décor was adorable and very reflective of my business, let's be real here, the big draw to my booth was the raw zucchini almond dip.  I knew this dip would be popular, especially since my friends regularly request that I bring it along to parties or potlucks. This dip was very appealing to the folks at the GFU, firstly because it's gluten free, but also because it's dairy free (which is a very common allergen as well).  Everybody that tried it, loved it.  Not only is this dip really, really tasty but it's also healthy, wholesome, and nutrient rich.  It's loaded with antioxidants (vitamins A, C, and E), calcium, fibre, protein and healthy fats. Try it for yourself, and let me know what you think!  

RAW ZUCCHINI ALMOND DIP 

Ingredients: 

1 cup zucchini, rough chopped 
1 cup raw almonds (with skin), soaked overnight, and rinsed 
¼ cup tahini 
¼ cup lemon juice 
1 teaspoon sea salt
1 tablespoon cumin 
1 teaspoon whole black pepper corns 
1 garlic clove 
2 tablespoons extra virgin olive oil 
1/4 cup water (or more depending on the desired consistency)

Directions: 

1. Add zucchini, almonds, tahini, lemon juice, garlic, spices, and olive oil to a high powered blender or food processor. Blend for a bit until the ingredients start to form an even consistency.  If using a high powered blender, you'll want to use a tamper to ensure that it blends evenly. For a food processor, you'll have to stop regularly and scrape the sides. 

2. Stream in water, and continue blending, until you have reached a smooth consistency. Add more or less water to reach your ideal texture (some people like a smoother dip, whereas others like it a bit chunky).

3. Serve with a splash of olive oil and a dash of paprika. Enjoy with cut up vegetables, crackers, rice cakes or use it as spread for sandwiches.  Enjoy! 

Raw zucchini almond dip served with Mary's gluten free crackers. Photo cred: Sergio Diaz, www.sergio-diaz.com

Raw zucchini almond dip served with Mary's gluten free crackers. Photo cred: Sergio Diaz, www.sergio-diaz.com

Pretty Pink Beet Hummus

I'm really into beets. If you've been following my blog you may have seen a photo of the beet-centric juice I made for Valentine's Day. Also, take a moment to scroll up to the top of the screen. Do you see the vegetable that appears very prominently in my logo?  Yes, it's a beet! 

Yesterday, while rummaging through the fridge,  I realized that I was out of hummus but amply stocked up on beets.  Therein beet hummus was born. 

I generally follow a very standard hummus recipe. I found this gem from Inspired Taste about a year ago, and it has laid the foundation for consistently delicious hummus and bean dips. 

This new variation of hummus doesn't stray too far from it's origins, however, the addition of roasted beets adds a bit of sweetness and a huge pop of colour. Although homemade hummus is already a nutrient dense food,  this version now boasts the added health benefits associated with beets. Anti-inflammatory and rich in anti-oxidants, beets are also said to help lower blood pressure and assist with the body's ability to detoxify. 

Since this recipe only requires one beet, I recommend roasting it in your toaster oven. I put my beet on a small metal tray covered with parchment paper, and cooked it for about 45 minutes at 450°F. However, if you don't have a toaster oven, follow the instructions below for a regular oven. 

ROASTED BEET HUMMUS 

Ingredients: 

One large beet, greens removed, ends trimmed, and scrubbed clean 
One 15-ounce can chickpeas, drained and rinsed 
1/4 cup fresh lemon juice, about 1 large lemon
1/4 cup tahini 
Half of a large garlic clove, minced
2 tablespoons olive oil
1/2 to 1 teaspoon salt, depending on taste
1/2 teaspoon ground cumin
1/4 teaspoon of ground ginger (optional) 
3 tablespoons water, or more, if necessary 

Procedure: 

Prehead oven to 400°F. Wrap your beet loosely in tin foil. Transfer the wrapped beet to a baking sheet. Roast for 45 minutes, or until you can easily pierce the beet with a fork. Once it's fork tender, remove the beet from the oven. Let the beet cool down enough to handle. Hold the beet in a paper towel and use the edges of the paper to rub the skin away. The skin should peel away easily. Once you've removed the skin, cut your roasted beet into smaller chunks and set them aside as you prep the rest of your hummus. 

In a food processor or high-powered blender, combine tahini and lemon juice. Mix for about 1 minute.  Using a spatula, scrape sides and continue to mix for another 30 seconds, or until the texture is smooth and light.

Add the olive oil, roasted beet, minced garlic, cumin, ginger (if you're using it) and the salt to the whipped tahini and lemon juice. Process for 30 seconds, scrape sides and bottom of bowl then process another 30 seconds.

Add half of the chickpeas and process for 1 minute. Scrape sides and bottom of bowl, add remaining chickpeas and process for 1 to 2 minutes or until thick and quite smooth.

Slowly add 3 tablespoons of water. Add more, if necessary, until desired consistency is reached.

Enjoy your beet hummus with cut up vegetables, corn chips, or use it in a vegetable wrap or sandwich.